HowTo:Build a gaming console from a kitchen appliance
“Wow...that looks better than the XBox...”
Are you tired of having not enough money to buy a gaming console? Worry no more, as Uncyclopedia is here to help! You will be needing a lawyer once you're up to Step 9. You will need to create the console itself, the WiFi transceiver, the gamepad, and then the actual games that your splendid new console will run. The following steps will guide you through the process of building a gaming console from a kitchen appliance. The console will still look cool no matter how little sauce you spray upon it and it's glory.
Begin[edit | edit source]
Step 1[edit | edit source]
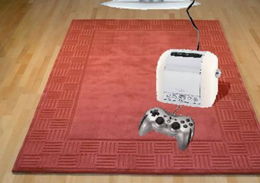
To begin, select a local toaster (I suggest broadband, not Vial-Up). If you don't have a toaster, get one from a yard sale that says that it's part of a Best-Buy Yard Sale Chain. If you are broke, or lazy x3, steal your neighbor's toaster. Don't steal Your mom's, though. Haven't you heard? Your Mom is friends with that old woman next door. If she finds out that you used mom's toaster to build a gaming console, it's dead end for you. Also you will have to eat cold Pop-Tarts for the rest of your life. And that sucks. If you (still) don't have a toaster, the refrigerator is good enough, but it'll make one sucky gaming console. It will still be better than a Xbox though.
Step 2[edit | edit source]
Further on, we must install some sort of GPU. Grab one from your computer if you have one and insert it into the wires. Just cut the wires from anything you find in the toaster and connect them to the GPU somehow.
Step 3[edit | edit source]
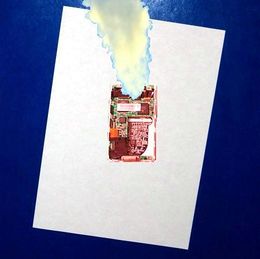
Building a peripheral is quite tuff or just hard, as you will need to build one from complete scratch. Find a bowl, a battery, sugar, a mobile phone, two rolls of tin foil and a chunk of cheese. Add the sugar into the bowl and add cheese. Take off the cover of the mobile phone and put the inside of the phone into the bowl. Wrap the batteries into the tin foil and use the other roll of tin foil to cover the bowl. Next put them into a fireplace and wait for 5 minutes. Then your new cafondu is ready. If you wish to build an actual WiFi controller, take two frisbees and add an RC Car's Radio Controller to the middle of the two frisbees. Then smelt the frisbees together and suck out all the air between the two frisbees to create a vacuum. You have just created your first Wii Wavey Thingie.
Step 4[edit | edit source]
Take the RC Car of the RC Car's Controller and connect the wires in the car to the toaster. This will connect the Peripheral and the Console itself. If you don't have a gaming console yet, you are lazy and do not want to build a console anyway, because otherwise you would of read from the beginning to this part. You lazy loser.
Step 5[edit | edit source]
Connect the rest of the wires in your RC Car with the TV's Audio and Video input, as the console impulses will run into the TV through the RC Car, which is also known as HomeBase. If you don't have a damn TV, why do you even have a computer?
Step 6[edit | edit source]
Before turning the power on to the TV Set, you must do some settings to the console itself. Connect the CI-wire from the TV set to the UR input in your toaster, then insert the FRANCE codec card into the WWW card input on your toaster.
Step 7[edit | edit source]
Now you must do rearrangements for your HomeBase in order to get your HomeBase correct, disconnect it from everything, take it apart, and put it into your microwave. All except for the cover. Set it to 2749 and wait 5 minutes... or at least when you hear the beepy noise. Once you take it out, put it onto a sheet of paper and wait 3 minutes for it to cool down. Then connect the home base with the toaster and TV again.
Step 8[edit | edit source]
After you've completed the previous, it's time to turn on the TV. You will be okay as long as you do it by remote. Otherwise you will die. Yes, you will.
Step 9[edit | edit source]
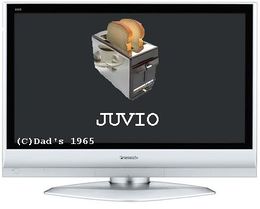
Once you have completed creation of your toaster console, you must make games for it and give it a name. Like Juvio. After that, wait for the cops to get you.
Further Information[edit | edit source]
How to make your own games[edit | edit source]
Grab your computer, write a .txt notepad file with T++ code and save it. Insert a blank disc and write the .txt file onto it. Later, insert the disc to the toaster.
History of the toaster console[edit | edit source]
The first toaster console (JUVIO) was built in 1965, after the release of That 60's Console. It was invented by Dad, or rather, Ol' gramps. He built it to play Pong, Crysis, Pinball and probably WordTutor. As his son (not you) programmed all the games by SUB2, pappa never tired of playing. That's why he died of a heart attack twice.
History of the refrigerator console[edit | edit source]
First invented by a group of retards in 1997, the first and only line of refrigerator consoles was called Prrjgff. The line was cancelled in 1997 by the fathers of all the retards. The games made by them for the refrigerator console were Suppor subbbhariine adventoorrrrjj!!!11 and Phhhrrrooongnggg!!!. Both super-buggishly scripted in SUB7, the far successor of SUB2 (Captain Obvious, my name is).
Other appliances[edit | edit source]
For more appliances, see yourmom.org/howdoes/#consoleapps.html


