Ipod Nano 200gb Instructions/Page 1
| ||||||||
Step 1 - Disassembly
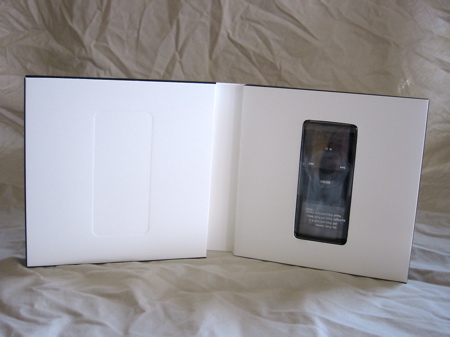
First, put on a static wrist strap and attach it to a grounded surface to avoid damaging the iPod nano. Open the package. Remove your iPod nano from the protective casing. Admire the packaging. Remove the packaging from your hard drive, and lay it on the table.
Step 2 - Jumper settings
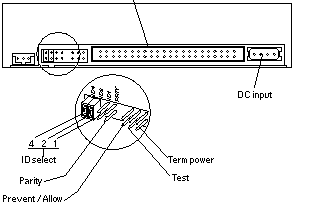
Set the jumpers on the hard drive for cable select. Using any other setting could cause harm to your iPod nano. Attach the rounded IDE cable to the hard drive, black end into the unit. Take care to align the red wire with pin 1 on the main interface line..
Step 3 - Opening it
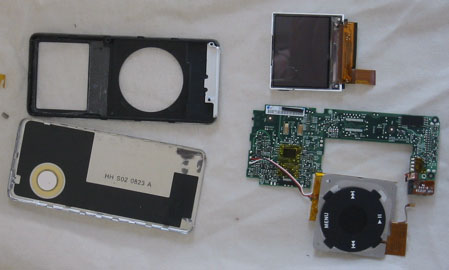
Disassemble the iPod nano using a screwdriver, and a Dremel. Use a very fine bit on the Dremel to avoid tarnishing the finish. Separate the two halves of the shell, and lay them on the table. Remove each part and place them separately. Remove the click wheel, and battery components to expose the mainboard. Remove the LCD screen with care, as it is very delicate. Avoid allowing dust to settle on it. When you are done, it should look like this.
| Table of Contents | ||
|
| ||


